Guide walkthrough
Start reading here
This is the main article body, where the page shifts from summary cards into the actual workflow and decision-making notes.
On this page
Key terms for this guide
These glossary pages cover the ideas and platform language most likely to matter as you work through this guide.
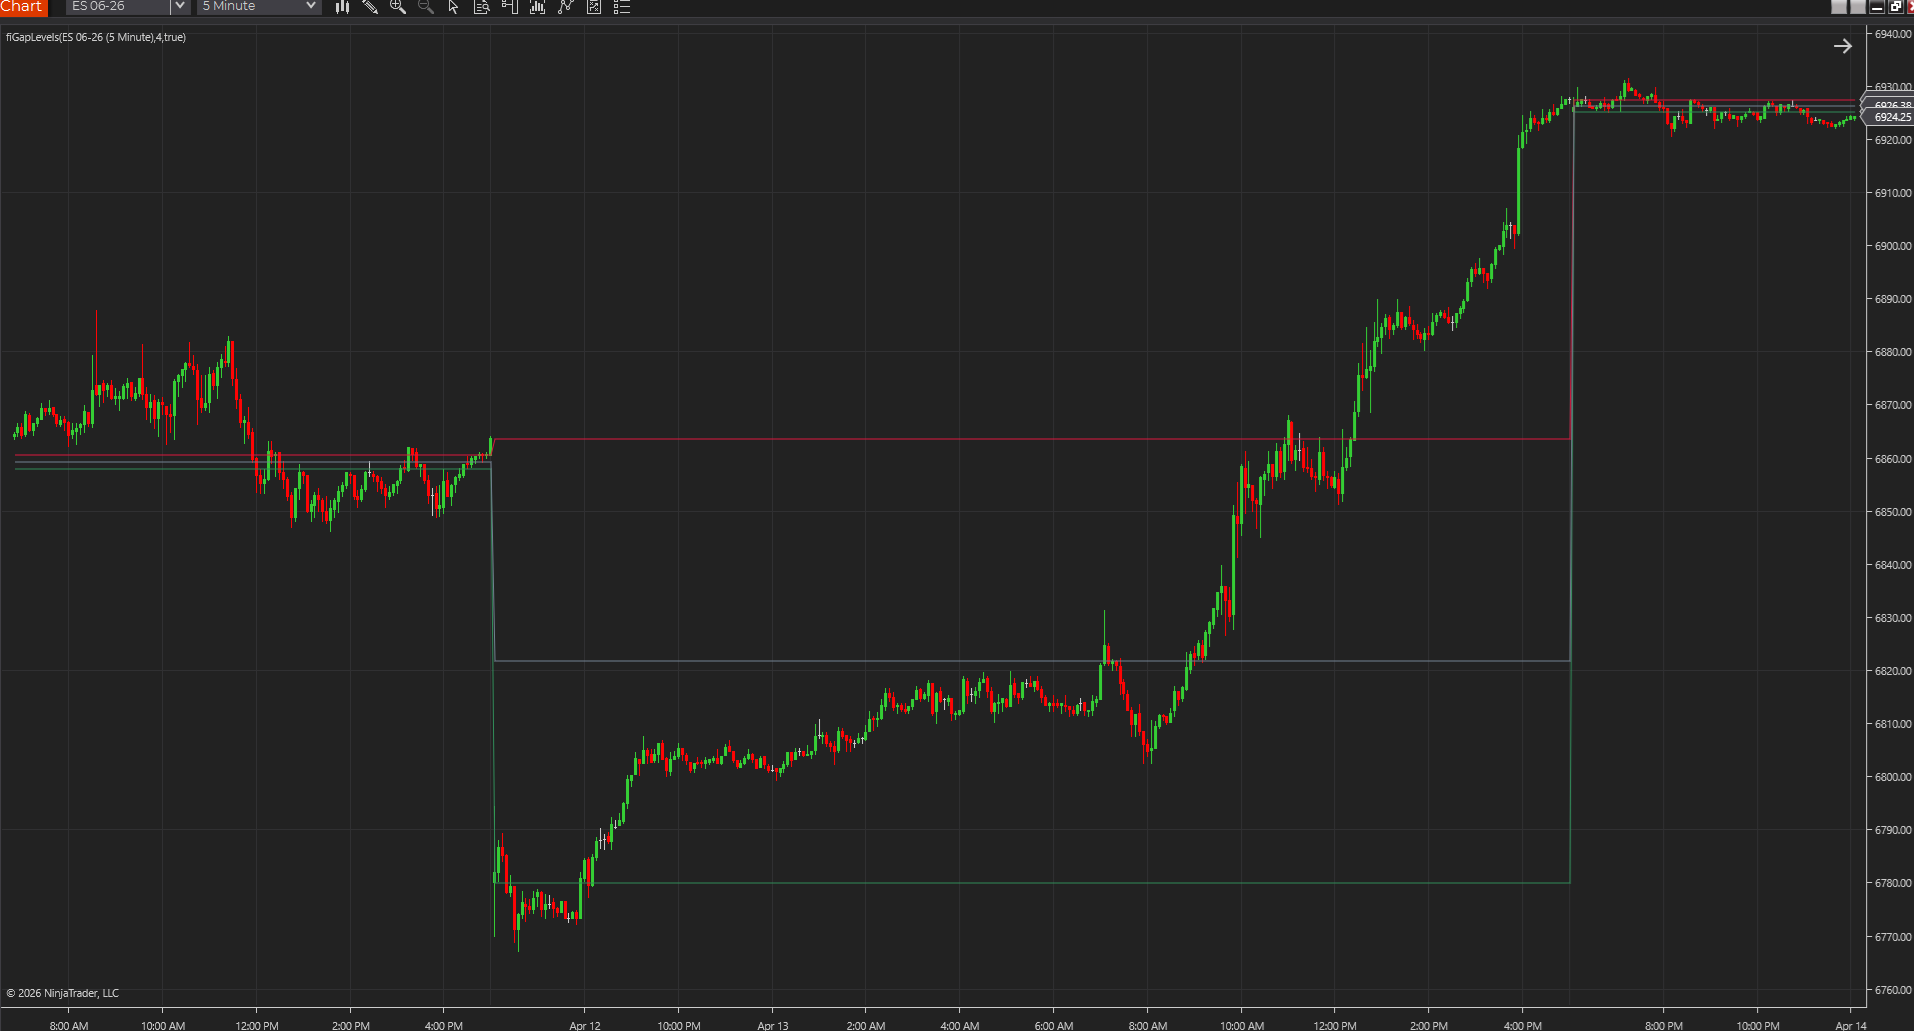
Opening range and gap levels frame different opening questions
The opening range tells you how the market behaves after the bell. Gap levels tell you how the open separated from the prior close. Both matter, but they do not organize the session in the same way.
Use opening range when the first rotation matters most
If your workflow cares most about the first clean expansion after the open, the opening range is usually the stronger primary map.
Use gap levels when the overnight separation matters most
If the real question is whether the session will fill, reject, or accept away from the overnight gap, the gap boundaries and midpoint usually matter more than the opening range alone.
Best next reads
These pages pick up the questions most readers usually have next, so you do not have to back out and start a fresh search.