Guide walkthrough
Start reading here
This is the main article body, where the page shifts from summary cards into the actual workflow and decision-making notes.
On this page
Key terms for this guide
These glossary pages cover the ideas and platform language most likely to matter as you work through this guide.
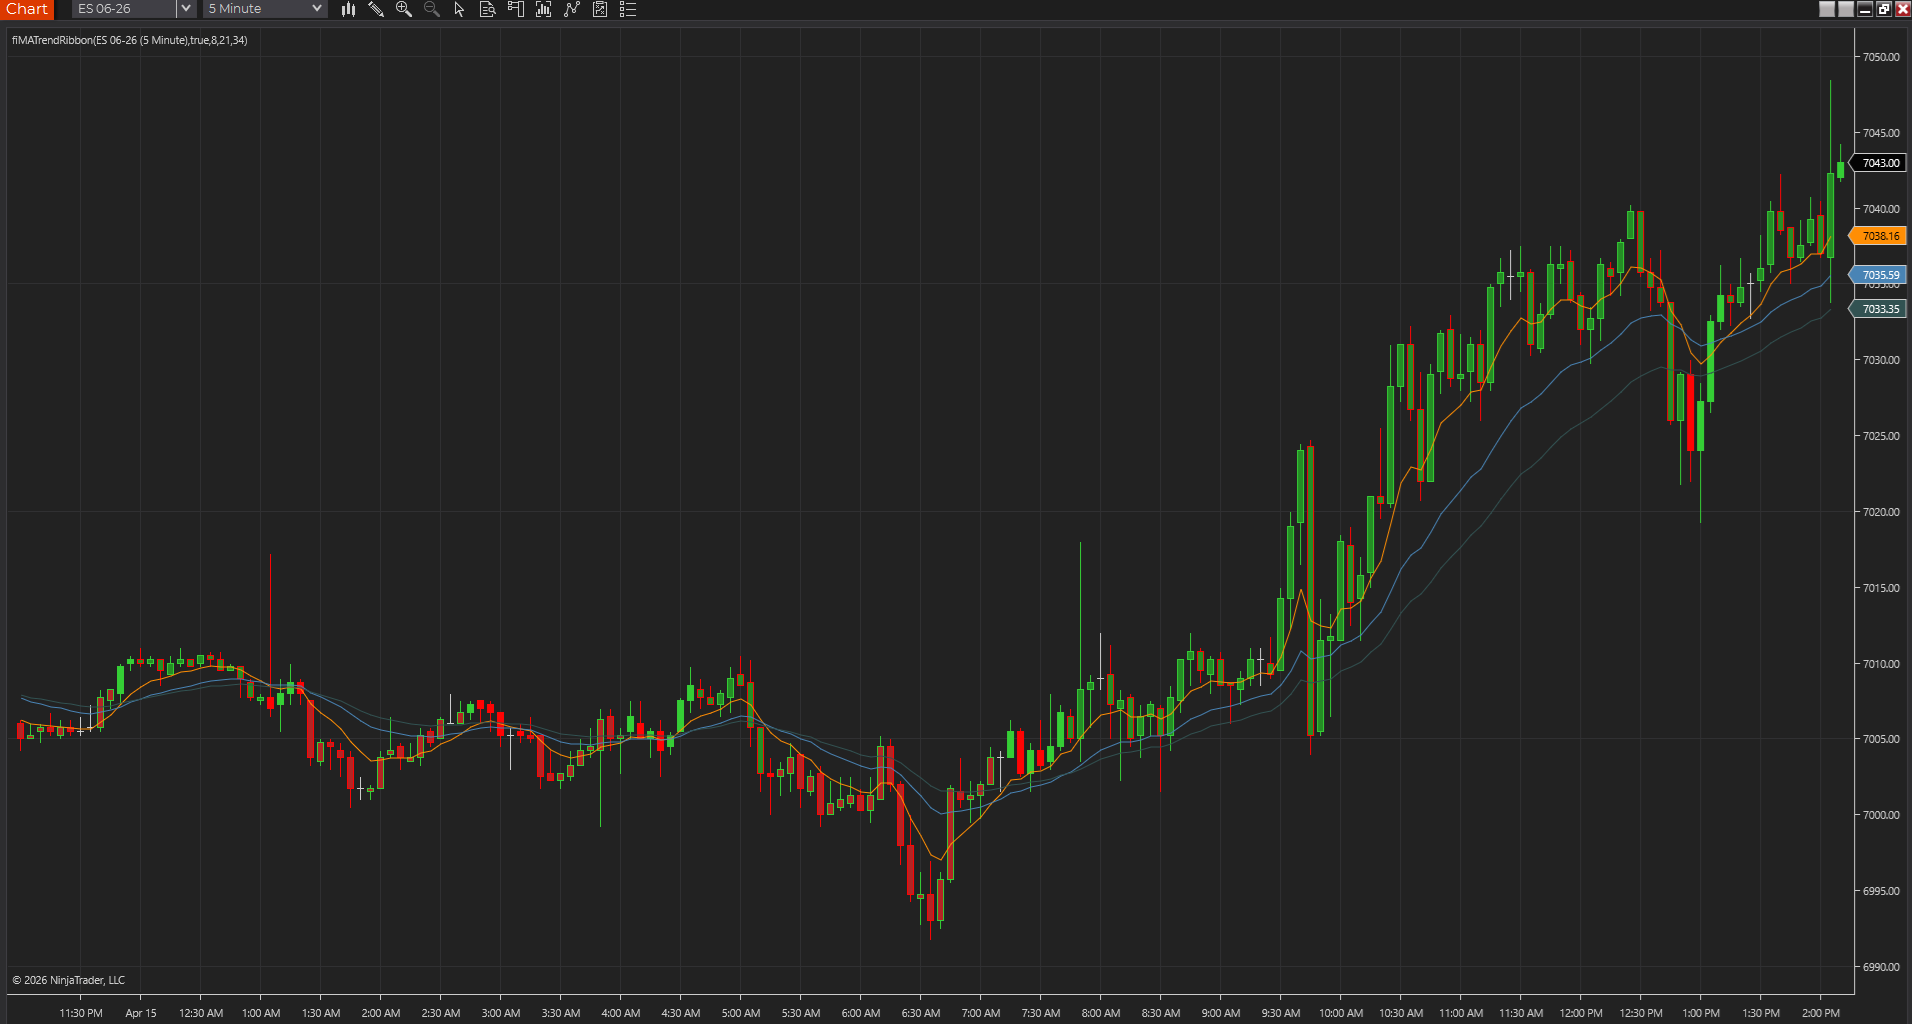
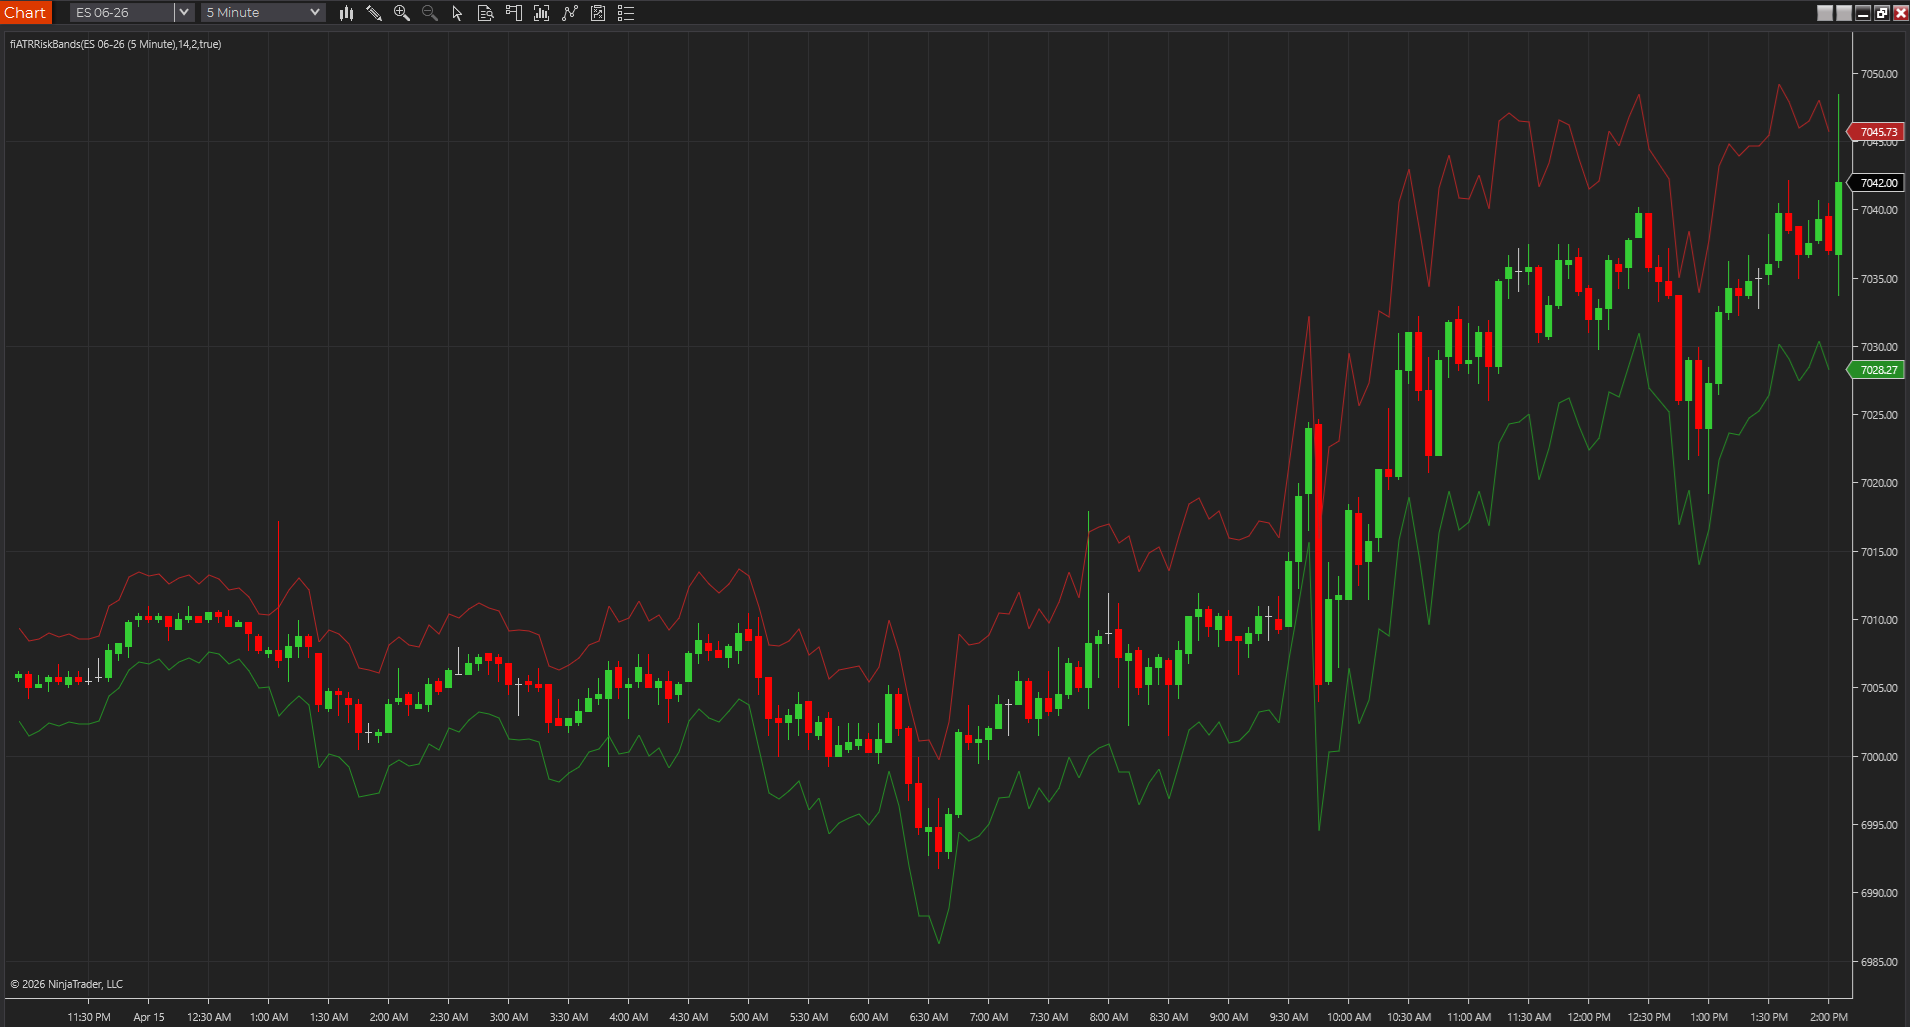
ATR is context, not destiny
ATR-based bands help show how much room price has been using recently. They are useful for framing volatility and stop distance, but they do not predict where price has to turn.
Match the period to the workflow
Shorter ATR periods respond faster and can feel jumpy. Longer periods smooth the range but can lag when volatility shifts quickly.
Risk tools should stay readable
A good ATR overlay should help you estimate breathing room, not turn the chart into a lattice of lines. The best versions stay visible without taking over the screen.